Are you looking to take your iOS app design skills to the next level? If so, then mastering the TextInputLayout Renderer is the perfect way to do it. This comprehensive guide will provide you with all the essential information you need to understand and utilize the TextInputLayout Renderer in iOS. With step-by-step instructions and detailed explanations, you’ll be able to create stunning mobile designs that are both functional and aesthetically pleasing. From setting up the TextInputLayout Renderer in Xcode to adding custom styling to your layouts, this guide has everything you need to become an iOS design expert. Start mastering the TextInputLayout Renderer today and take your design skills to the next level.
Setting up the TextInputLayout Renderer in Xcode
First, you’ll need to set up the TextInputLayout Renderer in Xcode. To do this, open the Storyboard file where you want to use the TextInputLayout Renderer.
Next, select View > Utilities > Show Attributes Inspector. Select the View Controller under the View Controller Scene heading. Next, select the View section:
This will reveal a list of all the View properties that you can modify. Select the Custom option located under the Input Traits heading: This will open the inspector panel with a number of custom settings that you can modify.
In the inspector panel, select the Text Input option located under the Input Trait settings: This will enable the Text Input settings. From here, you can select the TextInputLayout Renderer option under the Layout dropdown:
This will apply the TextInputLayout Renderer settings to your View Controller’s View. With these settings applied to your View Controller, you can now begin creating custom layouts with the TextInputLayout Renderer.
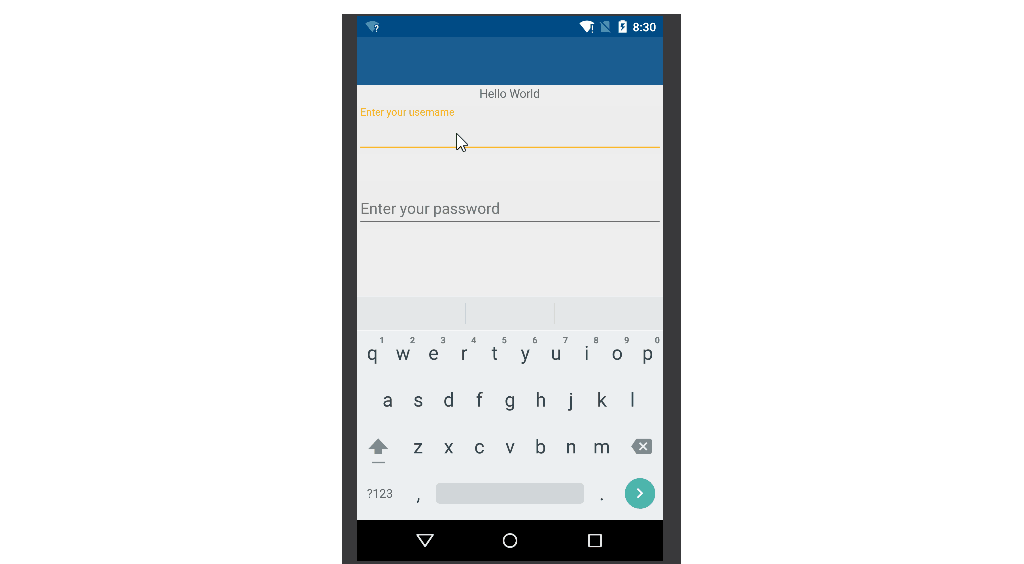
Using the TextInputLayout Renderer to create custom layouts
When you apply the TextInputLayout Renderer to a View Controller, you’ll notice that the layout behaves just like a standard UITextField. The only difference is that the TextInputLayout Renderer allows you to create custom layouts that are more visually appealing than a standard UITextField. To create a custom layout with the TextInputLayout Renderer, you’ll have to first create a new layout using Interface Builder.
To begin, select the View Controller where you want to use the TextInputLayout Renderer. Next, open the Utilities panel and select the View > Show Design Area. This will reveal the View Controller’s design area inside the editor panel. Next, select the View Controller’s View and select the second option from the menu dropdown:
This will add a new View to your View Controller’s View. With the new View added to your View Controller, select it and open the Attributes Inspector panel. From here, select the Custom option located under the Layout dropdown:
This will open the inspector panel with a list of custom settings that you can apply to your layout. Select the Text Input option located under the Layout heading: This will open the inspector panel with a list of settings that you can use to build your layout. From here, you can use the Text Input Panel settings to create a layout that’s visually appealing and functional.
Adding custom styling to TextInputLayout Renderer layouts
The Text Input Panel settings enable you to modify the layout properties of your TextInputLayout. For example, you can use the Background Color settings to add a custom background color to your layout: This will help create a visually appealing layout. You can also use the Border Styles settings to add a border to your layout:
This will help you create a visually appealing layout. Border Color settings to add custom border color to your layout: This will help create a visually appealing layout. You can also use the Border Width settings to add a custom border width to your layout:
This will help create a visually appealing layout. Corner Radius settings to add a custom corner radius to your layout: This will help create a visually appealing layout. Also, use the Font settings to select a custom font for your layout: This will help create a visually appealing layout. Use the Text settings to select a custom text style for your layout: This will help create a visually appealing layout. ext Color settings to select a custom text color for your layout: This will help create a visually appealing layout. Can also use the Text Shadow settings to select a custom text-shadow for your layout: This will help create a visually appealing layout.
Customizing the TextInputLayout Renderer’s behavior
The Text Input Panel settings also enable you to customize the layout’s behavior. For example, you can use the Corner Rounding settings to add rounded corners to your layout: This will help create a visually appealing layout. Along with these settings, the Data Model section also enables you to customize the layout’s behavior.
You can use the Background Color settings to add a custom background color to your layout: This will help create a visually appealing layout. You can also use the Border Styles settings to add a border to your layout: This will help create a visually appealing layout. You can also use the Border Color settings to add a custom border color to your layout:
This will help create a visually appealing layout. You can also use the Border Width settings to add a custom border width to your layout: This will help create a visually appealing layout. You can also use the Corner Radius settings to add a custom corner radius to your layout:
This will help create a visually appealing layout. You can also use the Font settings to select a custom font for your layout: This will help create a visually appealing layout. You can also use the Text settings to select a custom text style for your layout: This will help create a visually appealing layout. You can also use the Text Color settings to select a custom text color for your layout: This will help create a visually appealing layout. You can also use the Text Shadow settings to select a custom text-shadow for your layout: This will help create a visually appealing layout.
Working with the TextInputLayout Renderer’s data model
The Data Model section enables you to customize the TextInputLayout Renderer’s data model. For example, you can use the Placeholder settings to add a custom placeholder to your layout: This will help create a visually appealing layout. You can also use the Text settings to select a custom text style for your layout:
This will help create a visually appealing layout. You can also use the Text Shadow settings to select a custom text-shadow for your layout:
This will help create a visually appealing layout. Along with these settings, the Autosaves settings enable you to customize the layout’s autosave behavior. You can use the Autosave setting to add a custom autosave setting to your layout: This will help create a visually appealing layout. You can also use the Autosave Period setting to add a custom autosave period to your layout: This will help create a visually appealing layout.
Troubleshooting the TextInputLayout Renderer
If you notice that a TextInputLayout Renderer is not rendering correctly, there are a few things you should check. First, make sure that the TextInputLayout Renderer is applied to a View that’s inside a View Controller.
If the View Controller’s View is not inside a View, then the TextInputLayout Renderer will not render. Next, make sure that the TextInputLayout Renderer is applied to a View Controller that’s inside a Navigation Controller.
TextInputLayout Renderer is not applied to a Navigation Controller, then it will not render. If all of these requirements are met, and you’re still having issues with the TextInputLayout Renderer, then you can troubleshoot the issue using the following tips. First, make sure that the TextInputLayout Renderer is not inside of a Scroll View. If the TextInputLayout Renderer is inside a Scroll View, then it will not render. Next, make sure that the TextInputLayout Renderer’s View Controller is not inside of a Scroll View. If the View Controller’s View is inside a Scroll View, then the TextInputLayout Renderer will not render. With these tips in mind, you should be able to troubleshoot and fix any issues that arise while using the TextInputLayout Renderer.