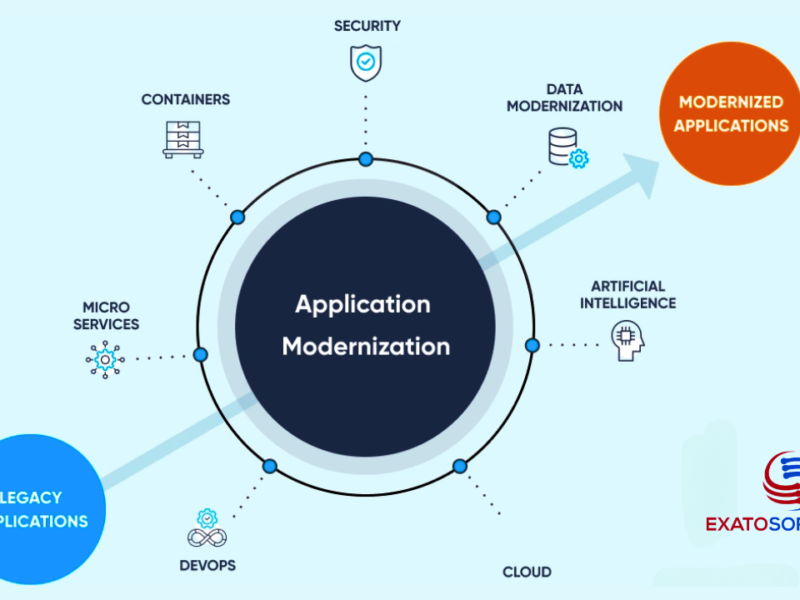
For a successful transition of a Dotnet application to Dotnet Core 5 or higher versions, one needs to follow a step-by-step process. Each step shall be carried out with diligence to ensure a complete and flawless migration.
The process that ensures that migration is complete and optimum without errors and bugs gains the reputation of the right migration path.
Assessing the current application is critically important. Unless you are completely aware of the complexities and limitations of the current application transitioning it to a higher version can be an uphill task.
Assessment of current application
Here is a guide for the assessment of a legacy application before migrating it to higher versions.
1. Identify Application Components:
Codebase: Determine the size, complexity, and structure of your application’s codebase.
Dependencies: Identify third-party libraries, frameworks, and components used in your application and their compatibility with .NET Core.
2. Review System Requirements:
Ensure that the target platform (e.g., operating system, database, web server) supports .NET Core 5 or 6.
Identify any dependencies on specific versions of Windows, IIS, or other components that may impact the migration process.
3. Evaluate Framework Compatibility:
Review the .NET API Portability Analyzer tool to assess the compatibility of your application’s code with .NET Core.
Use the .NET Portability Analyzer to analyze dependencies and identify potential issues with third-party libraries and components.
4. Analyze Codebase and Dependencies:
Use static code analysis tools (e.g., ReSharper, SonarQube) to identify deprecated APIs, code smells, and potential migration challenges.
Check for platform-specific code and dependencies that may need to be updated or replaced for compatibility with .NET Core.
5. Upgrade Dependencies:
Update third-party libraries and dependencies to versions that are compatible with .NET Core 5 or 6.
Contact vendors or check documentation to verify support for .NET Core in third-party libraries and components.
6. Assess Application Architecture:
Evaluate the architecture of your application to identify any design patterns, dependencies, or frameworks that may require modification for .NET Core compatibility.
Consider refactoring or redesigning components to align with best practices and patterns for .NET Core development.
7. Test Compatibility:
Set up test environments to validate the behavior and functionality of your application on .NET Core 5 or 6.
Perform unit tests, integration tests, and regression tests to identify any issues or regressions introduced during the migration process.
8. Plan Migration Strategy:
Define a migration strategy based on the assessment findings, considering factors such as codebase size, complexity, and criticality of the application.
Determine whether to perform a full migration or adopt a phased approach, migrating modules or components incrementally.
9. Prepare for Migration:
Set up development and testing environments with the necessary tools and frameworks for .NET Core development.
Train developers and stakeholders on .NET Core concepts, best practices, and migration strategies.
10. Document Findings and Plan:
Document assessment findings, including identified issues, dependencies, and migration strategy.
Create a detailed migration plan with timelines, milestones, and responsibilities for each phase of the migration process.
By following these steps, you can effectively assess your .NET legacy application for migration to .NET Core 5 or 6, addressing compatibility issues.
Upgrade to Dotnet core compatible versions and porting to .NET Core.
1. Choose the Target .NET Version:
Determine the appropriate target .NET version based on factors like performance improvements, feature enhancements, and long-term support.
Consider migrating to the latest stable release for access to the most recent features and security updates.
2. Update Third-Party Dependencies:
Review and update third-party dependencies to versions compatible with the target .NET version.
Check release notes and documentation for compatibility information and migration guides provided by library authors.
3. Refactor Code for Compatibility:
Identify and replace deprecated APIs and outdated code constructs with their modern equivalents supported by the target .NET version.
Use tools like the .NET Upgrade Assistant to automate code migration and identify areas that require manual intervention.
4. Address Platform-Specific Code:
Review and update platform-specific code to ensure compatibility with the target platform.
Utilize platform-specific APIs or conditional compilation directives to handle platform differences, if necessary.
5. Optimize Performance:
Take advantage of performance improvements and optimization techniques available in the target .NET version.
Profile and analyze the application’s performance to identify bottlenecks and areas for optimization.
Testing and Validation
Testing is a critical aspect of ensuring the proper migration of a legacy .NET application to higher versions. A comprehensive testing strategy should cover various aspects of the application to ensure that it functions correctly, performs well, and remains stable after migration.
1. Unit Testing:
Update Existing Unit Tests: Modify existing unit tests to accommodate changes introduced during migration.
Write New Unit Tests: Create new unit tests to cover new features, modified functionality, and areas affected by migration.
Test Core Business Logic: Focus on testing critical business logic to ensure it behaves as expected after migration.
2. Integration Testing:
Test Integration with Third-Party Components: Ensure that integration with third-party libraries, frameworks, and services works correctly in the new environment.
Verify Data Integrity: Test data flows and data integrity across different components and layers of the application.
API Integration Testing: Validate APIs and external dependencies to ensure compatibility and proper functionality.
3. Regression Testing:
Test Existing Functionality: Conduct regression tests to verify that existing features and functionalities continue to work as expected after migration.
Address Known Issues: Revisit any known issues or bugs identified in the legacy application and verify that they have been resolved post-migration.
4. Performance Testing:
Load Testing: Assess the application’s performance under different load conditions to identify any performance bottlenecks or scalability issues.
Stress Testing: Evaluate the application’s behavior under stress by pushing it beyond its normal operational capacity.
Resource Utilization: Monitor CPU, memory, and disk usage to ensure that the application performs optimally in the new environment.
5. Compatibility Testing:
Cross-Browser Testing: If the application has a web interface, perform cross-browser testing to ensure compatibility with different web browsers.
Cross-Platform Testing: Verify that the application functions correctly across different operating systems and platforms supported by the target .NET version.
6. Security Testing:
Vulnerability Assessment: Conduct security testing to identify and address any security vulnerabilities introduced during migration.
Authentication and Authorization: Verify that authentication and authorization mechanisms remain secure and function correctly post-migration.
7. User Acceptance Testing (UAT):
Engage Stakeholders: Involve stakeholders in UAT to gather feedback on the migrated application’s usability, functionality, and performance.
Address User Concerns: Address any issues or concerns raised by users during UAT and incorporate necessary changes or enhancements.
8. Automated Testing:
Automate Testing Workflows: Implement automated testing frameworks and tools to streamline testing processes and ensure consistent test coverage.
Continuous Integration/Continuous Deployment (CI/CD): Integrate automated tests into CI/CD pipelines to automate testing as part of the deployment process.
9. Documentation and Reporting:
Document Test Cases: Document test cases, test scenarios, and test data used during testing to facilitate future testing efforts and knowledge sharing.
Generate Test Reports: Generate comprehensive test reports highlighting test results, identified issues, and recommendations for improvement.
Deployment
You can follow these steps for successful deployment of legacy application to higher .Net versions.
1. Configure Deployment Environment:
Set up the deployment environment, including servers, cloud infrastructure, or container orchestration platforms like Kubernetes.
Configure deployment settings, environment variables, and any necessary infrastructure components.
2. Implement Continuous Integration/Continuous Deployment (CI/CD):
Set up CI/CD pipelines to automate the build, testing, and deployment processes for the migrated application.
Use CI/CD tools like Azure DevOps, GitHub Actions, or Jenkins to orchestrate deployment workflows and ensure consistency across environments.
3. Deploy the Migrated Application:
Deploy the migrated application to the target environment using the CI/CD pipeline or manual deployment methods.
Monitor the deployment process and address any issues or errors that may arise during deployment.
4. Perform Post-Deployment Testing:
Conduct post-deployment testing to verify that the application is functioning correctly in the production environment.
Monitor application logs, metrics, and performance indicators to detect and troubleshoot any issues.
Monitor and Optimize
Implement monitoring and logging solutions to track the application’s performance, availability, and security post-deployment. Establish processes for regular maintenance, updates, and patching to ensure the ongoing stability and security of the deployed application.
Additional Considerations
Documentation: Update documentation and provide guidelines for developers working on the migrated application.
Following the process of migration step by step helps in eradicating the hiccups that may slow down or halt the migration process. With the above migration path, you can mitigate the risk of faltering during the process and complete the task with efficiency.


